In grade 8, one of our favorite units is Mask Making. For our class project, we create Columbina-style mezzo-volto (half face) mask forms. To build the mask structure, we use plaster bandage (AKA plaster craft or Pariscraft). Here are the steps if you'd like to try it yourself at home! You can get these supplies at most art supply stores or online.
 |
| On a plastic face form, use pencil or Sharpie to draw the edges of the form you wish to build. |
 |
| Cut a piece of plaster craft from the roll. Make sure the roll gets covered in plastic when done. |
 |
| Cut your plaster into band-aid sized pieces. Make sure they stay dry until you are ready to use them. |
 |
| Get the rest of your supplies ready: water and newspaper for easy clean up. |
 |
| Soak the plaster craft in water until soft. The amount of time depends on the brand. |
 |
| Apply a strip of plaster to the form. Hold the edges and smooth out completely so that there are no squares or spaces left in the material. |
 |
| Every piece that gets added needs to be applied in a different direction, so overlap and criss-cross every piece. Cover all areas of the mask form to create the shape you need. |
 |
| Make sure you cover all the way down the sides of the form, too. |
 |
| Make sure you smooth everything out as much as possible. The smoother you make the surface, the easier it is to paint. |
 |
| The eye openings have to be built-- they CANNOT be cut out later! |
 |
| To create the eye opening, place plaster over the eye area, then push the material back against the edge of the eye shape. Smooth out and flatten any lumps. |
 |
| To form the edges, place plaster on the area, then push the material back against the boundary line. Smooth out and flatten any lumps. |
 |
| This is a really nice bottom edge for a mezzo-volto! |
 |
| Here is a top edge being formed.... |
 |
| When the entire area is covered with plaster, start another criss-crossed layer for strength. You can cover right over any pieces that are still wet. Do not build it too thick: it should be light and thin but strong. |
 |
| When 2nd layer is complete, allow it to dry for at least 24 hours. If the layer is the right thickness, it will pop off the mold easily. |
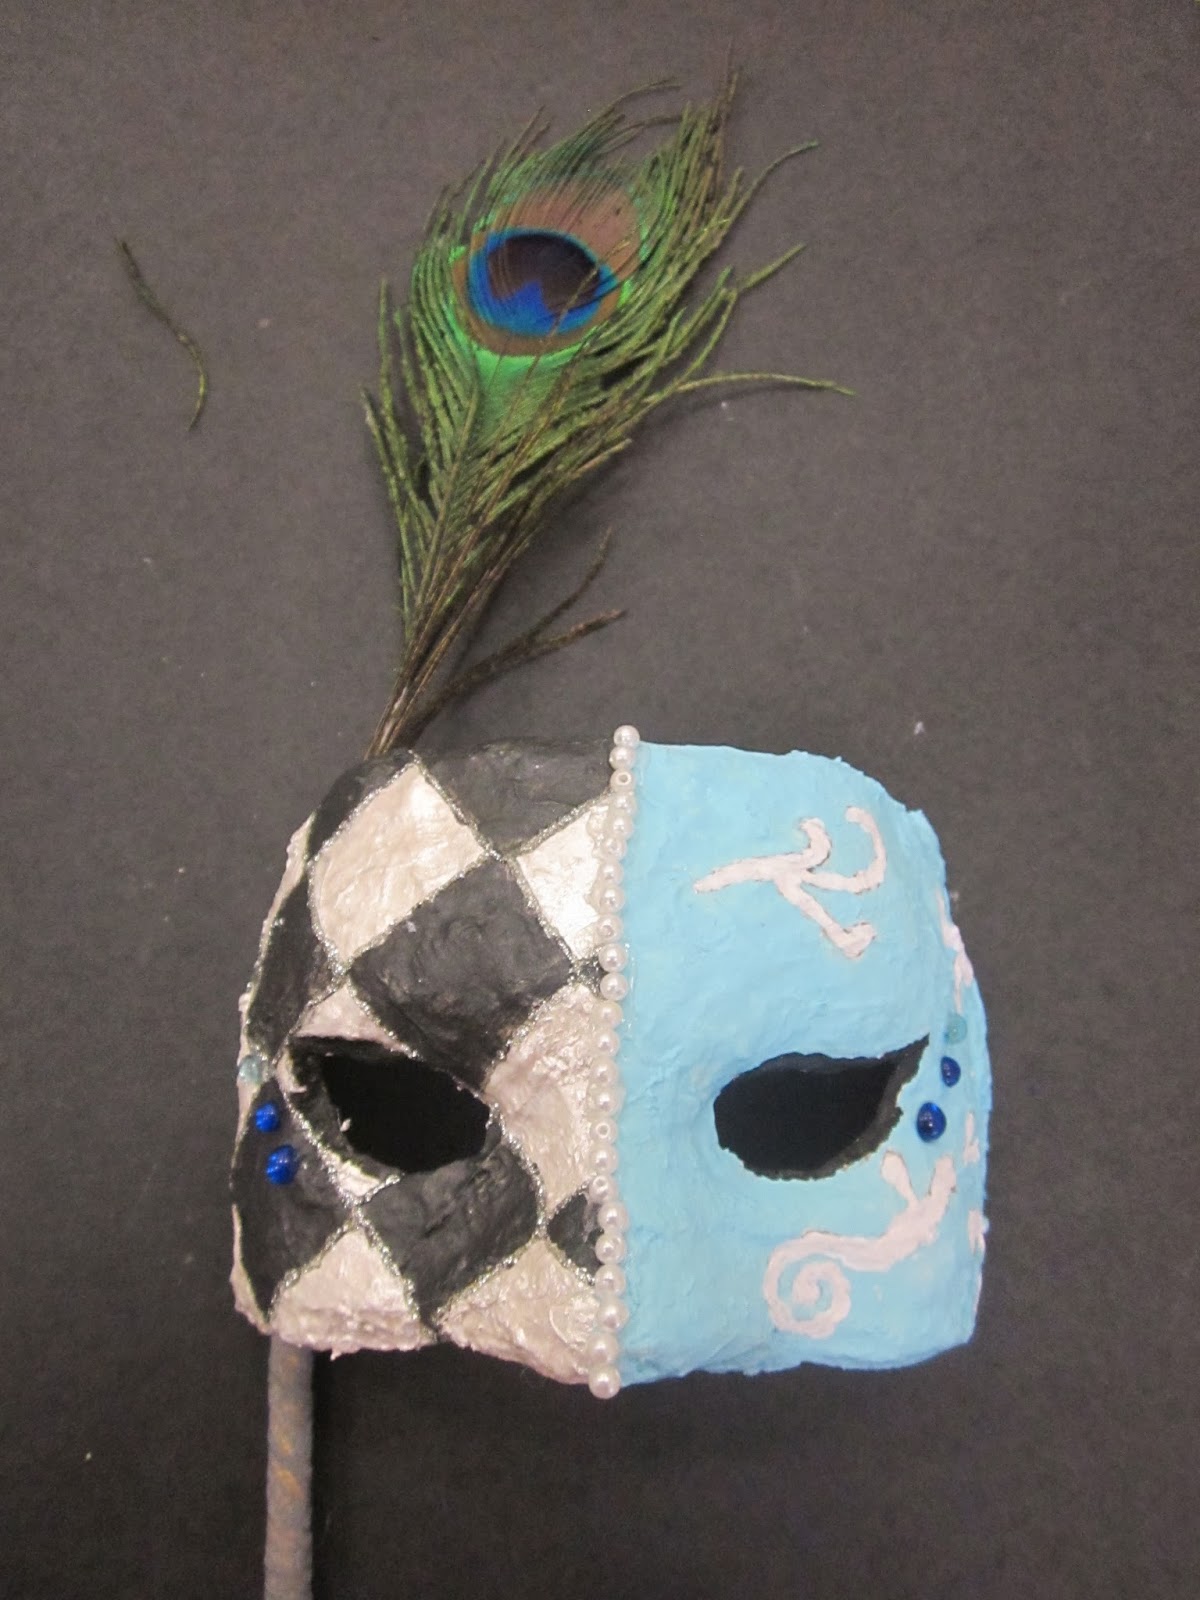
Once the mask is unmolded, you can wash the excess plaster off your mask mold so you can use it again in the future. Then, start your painting and decorating. Have fun!